Sri Lanka Itinerary Tips for One Month of Travel
Looking to head to Sri Lanka and need some tips? Here’s a look at my one-month Sri Lanka itinerary to help you plan your trip.
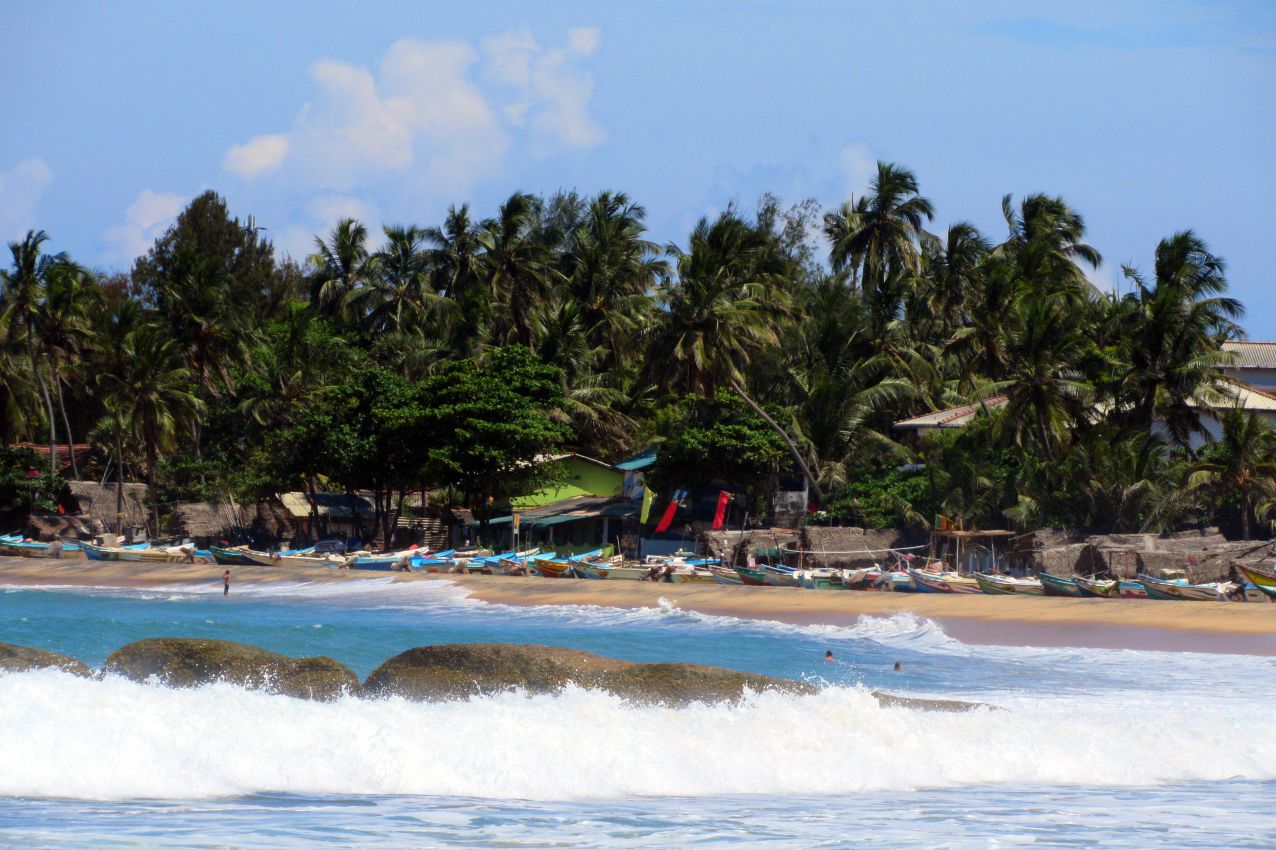
Sri Lanka, the beautiful pear-shaped island in the Indian Ocean, combines stunning beaches, vibrant cultural cities, and incredible wildlife. While many travelers still head to South East Asia over South Asia, Sri Lanka remains somewhat off the typical backpacker radar – making it a truly authentic and invigorating experience. Tourism is growing (and for good reason), but in many spots, it still feels like a genuine escape. Now is a great time to visit before the crowds hit their peak.
I travelled to Sri Lanka where I met up with a couple of friends for a month of exploring this beautiful island nation. We knew very little about the country and didn’t have any plans as such at first (classic us), but by the end of our trip, we had covered some amazing destinations and experiences.
To make planning easier, you can grab the best flight deals to Sri Lanka and secure your accommodation – especially if you want to stay in some of the more popular beach towns or cultural cities. If you’re looking to make the most of your trip, consider booking a few local tours in advance, like city tours in Colombo or cultural excursions in Kandy.
In this post, I’ll outline how we spent our time traveling the country and provide itinerary inspiration if you’re considering visiting Sri Lanka (which you should!).
(This post contains affiliate links. If you book through any of these links I will receive a small commission at no extra cost to you.)
Flights: Check for the cheapest, most extensive flight options on Skyscanner.
Accommodation: Booking.com and Agoda – many accommodation options to suit every budget. I tend to use Booking.com a lot as find the Genius Discount it provides (the more you book through Booking, the better the discount you can receive) really does bring the prices down.
Travel Insurance: I recommend SafetyWing. Their extensive coverage is excellent. It is perfect for those on the road long term, or you can book it for a shorter specific period of time when your trip lies.
Activities: GetYourGuide is full of activities – attractions, tours – it is super handy even if you don’t want to book on here but for some extra inspiration of things to do.
eSIM: Stay connected in Sri Lanka from your arrival with an eSIM. Both Yesim and Drimsim have worldwide options to choose from which will suit your needs.
When to visit?
My trip took place from 2nd April to 29th April, which turned out to be perfect timing – just before the wet season hit the south, and right at the start of the prime season for the east coast.
We visited the southern coast at the end of the trip. Sunshine and beach days were plentiful, but you could feel the first hints of the monsoon arriving. The humidity was high!
For reference:
- Best time to visit south-west coast: December to March
- Best time to visit east coast: April to September
💡 Pro tip: If you’re planning to hit the beaches, book your coastal accommodation early to get the best spots before the season picks up.
One Month in Sri Lanka Itinerary
A one-month Sri Lanka itinerary often starts with the big question – do you dive straight into the beaches or begin with the cultural highlights?
My friends and I decided to start in the Cultural Triangle and finish by unwinding on the southern beaches – it turned out to be the perfect balance of adventure and relaxation.
Here’s our 1-Month Sri Lanka Route at a Glance:
🗺️ One-Month Sri Lanka Itinerary Overview
| Destination | Nights |
|---|---|
| Colombo | 2 |
| Anuradhapura | 2 |
| Nilaveli | 2 |
| Sigiriya | 2 |
| Dambulla | 1 |
| Kandy | 1 |
| Nuwara Eliya | 1 |
| Ella | 4 |
| Arugam Bay | 6 |
| Mirissa | 3 |
| Galle | 2 |
💡 Tip: Find accommodation for each stop on Booking.com or Hostelworld.
(We spent longer than was necessary in Arugam Bay – you could add another stop in here!)
I recommend using Booking.com or Hostelworld to search for accommodation options – you will find some very affordable options on either of these. Little tip: if you’re willing to spend a little more on accommodation – opt for those with air con. My trip was very budget style and I can safely say the rooms with simply a fan did not make make for such a comfortable experience!
Day 1:
Fly into Bandaranaike International Airport, Katunayake. Head to Colombo, Sri Lanka’s capital city.
For cheap flights to Sri Lanka, I recommend checking Skyscanner to see what options are available. Be sure to search using ‘flexible dates’, and find the cheapest, best route for you around the dates you wish to go. Check for flights here.
How to get to Colombo?
- For the budget travellers, you can take a bus from the airport to Colombo, then a tuktuk to your accommodation.
- Welcome Pickups provides a more comfortable transfer – book online and your driver will meet you at the airport. Check for transfers here.
Many accommodations also offer a transfer service of their own, so you can also check with them.
Accommodation:
Colombo has plenty of budget-friendly hostels that won’t break the bank – and many even offer private rooms if you want a little more comfort. Here are some top-rated options:
- C1 Colombo Fort – Centrally located and a great pick if you want to explore the city’s main attractions easily.
- Colombo Beach Hostel – Perfect for social travelers, with a lively common area and easy access to the beach.
- Drop Inn Hostels – Affordable, clean, and great for meeting fellow backpackers.
- Alma Hostel – Colombo – Modern vibes, cozy rooms, and a friendly staff who can help with sightseeing tips.
- SeSaya Poshtel & Bistro – Combines boutique style with a café on-site; ideal for chill mornings and good coffee.
💡 Tip: If you’re willing to spend a little extra, private rooms in these hostels can be surprisingly affordable – and definitely worth it after a long day of travelling or exploring.
Don’t want the hostel, backpacker vibe? No problem. There is no shortage of hotel options. Some top pick hotels in Colombo are:
- Settle in, wander around the area, catch up on sleep after a long flight.
(The city of Negombo is actually closer to the airport, so it is also an option for when you first arrive, or for the last night of your trip). Search Negombo accommodation here.
Day 2:
- Explore Colombo for the day (honestly we didn’t see much of the city so I can’t recommend much for Colombo, it was more of a ‘sort out plans for the next few weeks’ day). Be sure to speak with the accommodation owners, get some tips for your Sri Lanka travels.
Experience Colombo by tuk tuk – book this 4-hour private tour on GetYourGuide.
Day 3:
Colombo -> Anuradhapura
After 2 nights in Colombo, it is time to properly start the adventure.
Arrive in Anuradhapura by train from Colombo. It is around a 6.5 hour train ride so the journey takes up most of the day. You will then likely have to take a tuktuk to your accommodation, depending on how far it is.
Some good, budget-friendly accommodation options include:
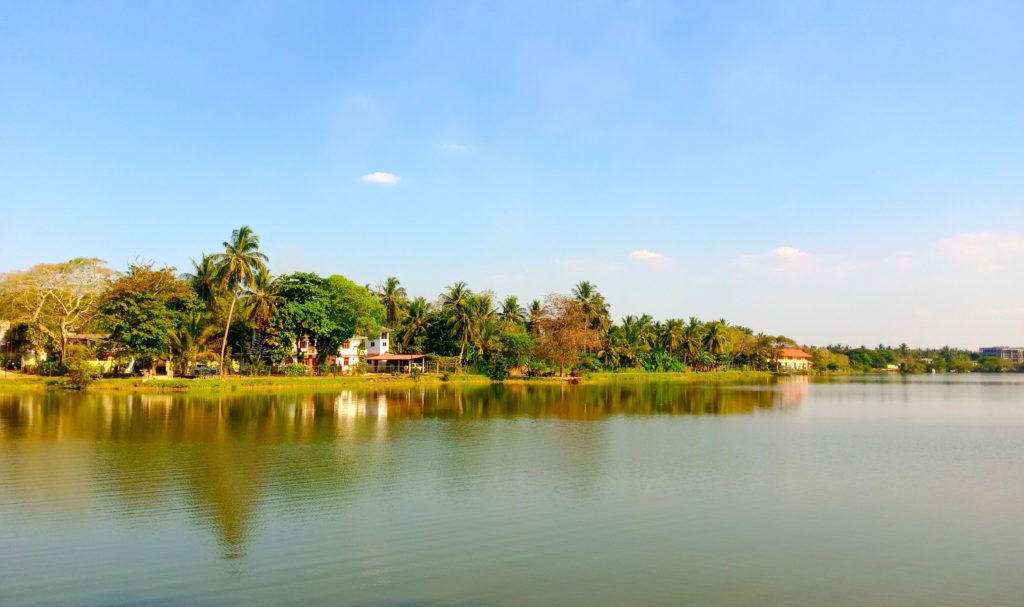
Once at your accommodation, if you don’t feel like doing too much after a long travel day, you can head to Nuwara Wewa lake for a lake-side stroll, before grabbing some dinner.
Day 4:
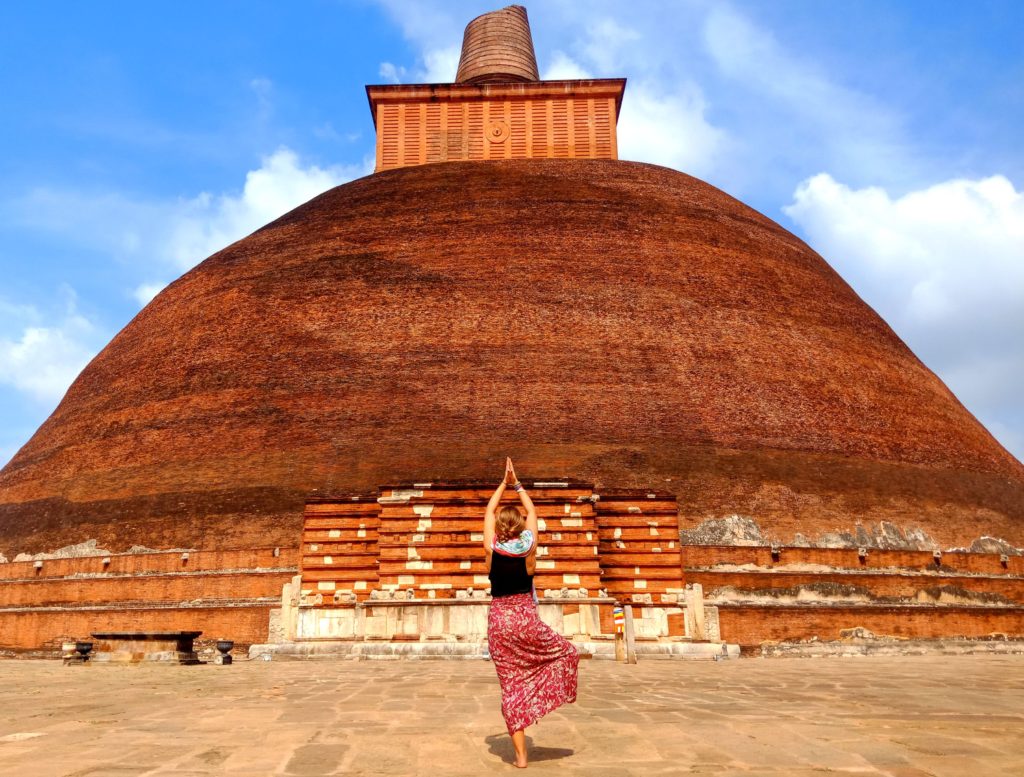
- Head to Anuradhapura Sacred City, a UNESCO World Heritage Site.
- Entre fee is $35.
- For my trip, we chose to rent bikes and explore the temples this way. We got some tips from our accommodation owner on where to hire them from.
- If you don’t wish to cycle, you can explore The Sacred City of Anuradhapura by private tuktuk tour. This way you can travel hassle-free and know exactly where to go and what to see!
Day 5:
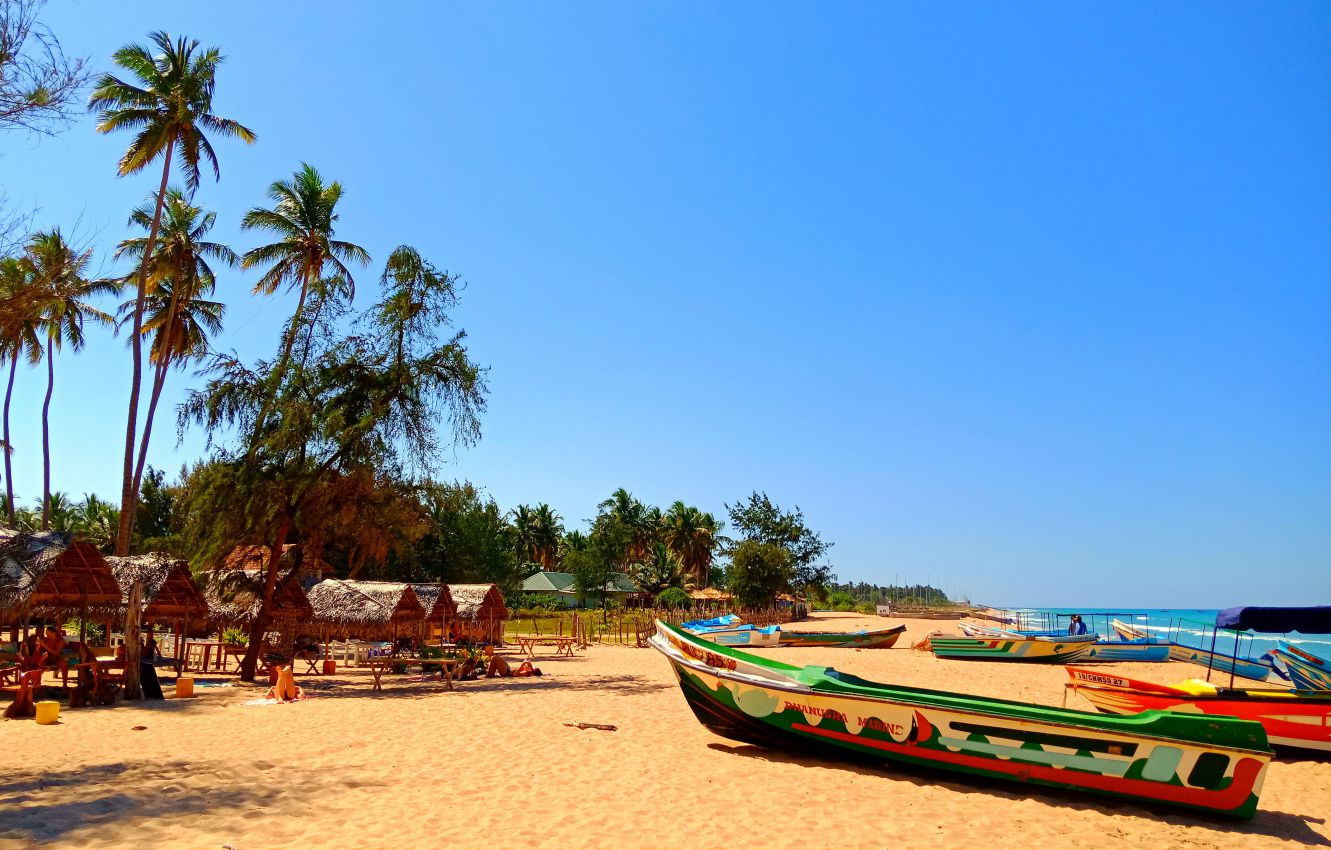
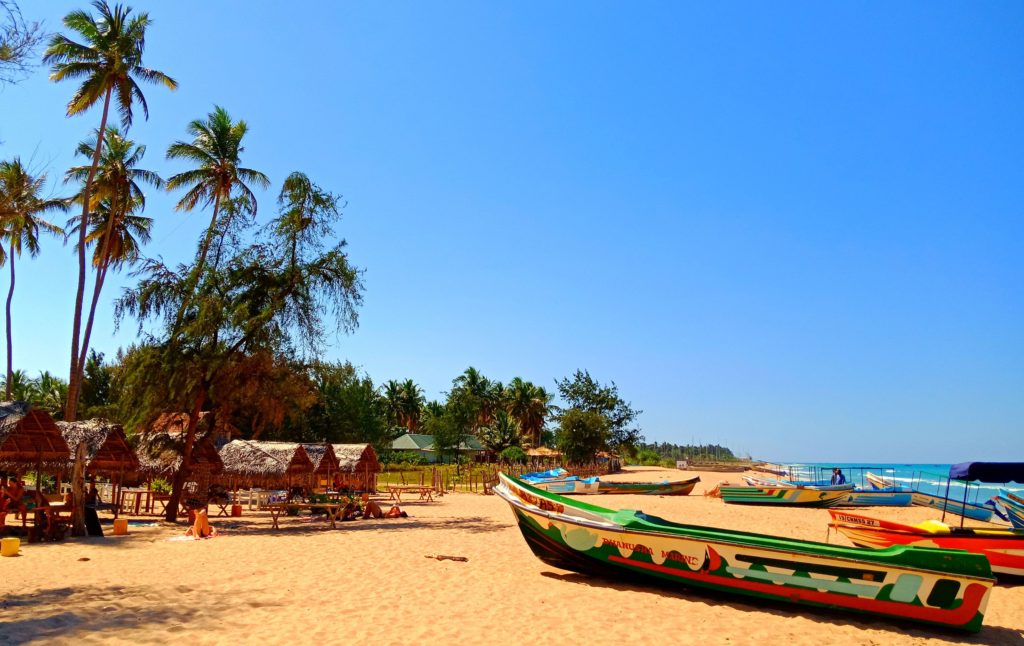
Anuradhapura -> Nilaveli:
Take the bus from Anuradhapura to Trincomalee in the morning, then either another bus or a tuk tuk to Nilaveli.
This is a nice stop to have your first taste of Sri Lankan beach life, I needed this knowing we weren’t going to be at the beach until the end of the trip! A little break between all the cultural sites.
- BEACH DAY.
Day 6:
- Pigeon Island: Take a half-day trip to Pigeon Island, a short boat trip from the main beach. You can book your snorkelling trip to Pigeon Island here. (Note this is for the boat trip – entrance fee is not included in this price). Or, you can organise it the previous day while on your beach day – the workers will most likely approach you first and ask you about it. Make sure to bargain with them though!
- I LOVED Pigeon Island. Snorkel at the reef, chill on the beach. You may even see some small sharks as we did!
- Spend the remainder of the day back on the main beach.

Day 7:
Nilaveli -> Sigiriya
Tuk Tuk to Trincomalee, bus from Trincomalee to Sigiriya.
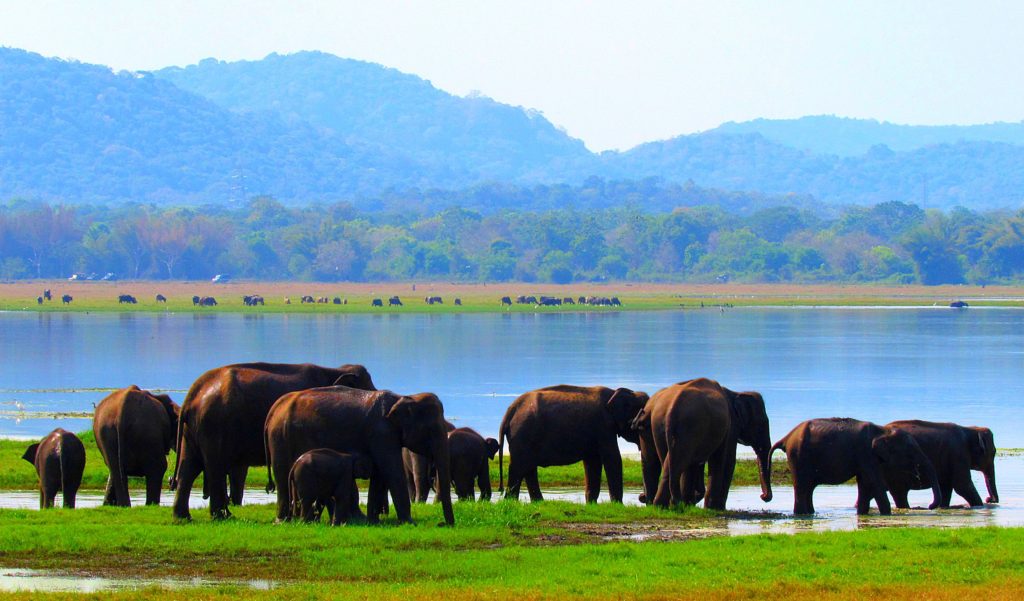
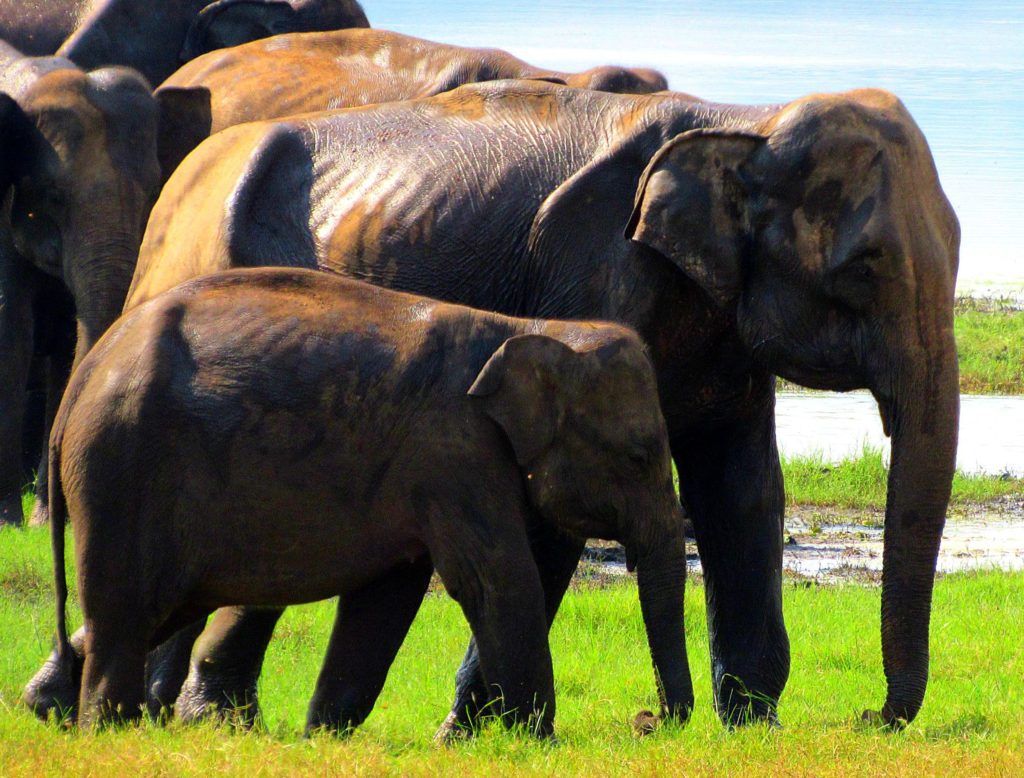
- Set up a safari trip to Minneriya National Park for the next day – ask around to the find the best deal. If you would rather not ‘waste’ time doing this, or simply like to be more organised, there are various Minneriya National Park safari options available here on GetYourGuide. Do however note that some of these tour options do NOT include the entry fee for the national park – make sure to look at what is included.
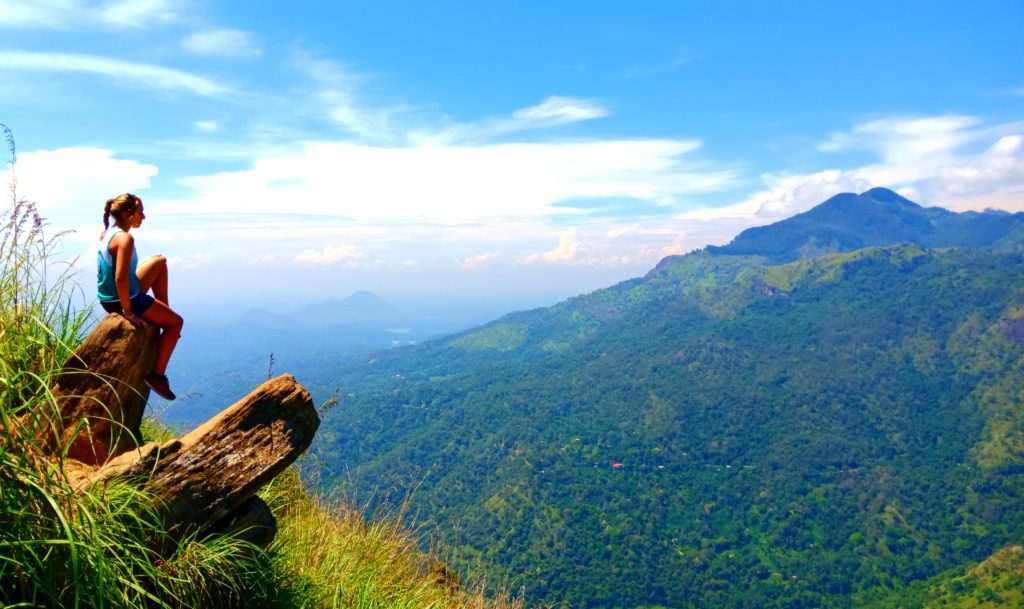
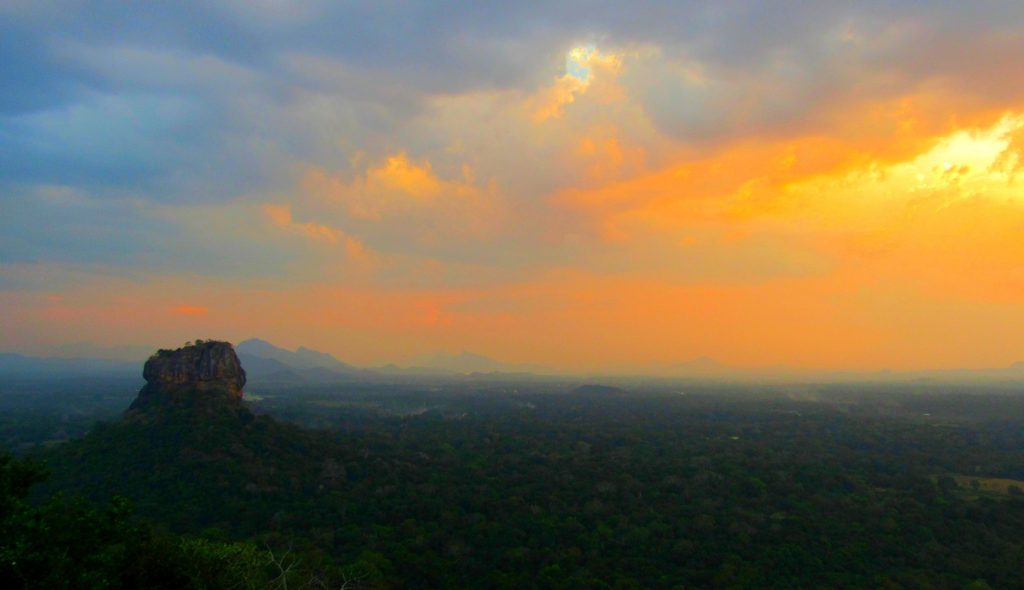
- Pidurangala Rock: Hike to the summit for sunset.
- For a hassle-free hike, including having transport to get to the start, and for the return, as well as a guide, you can book a Sunset Tour to Pidurangala Rock.
Check out my post – Pidurangala Rock, Sigiriya – MUST DO hike in Sri Lanka for a closer look at this hike.
Day 8:
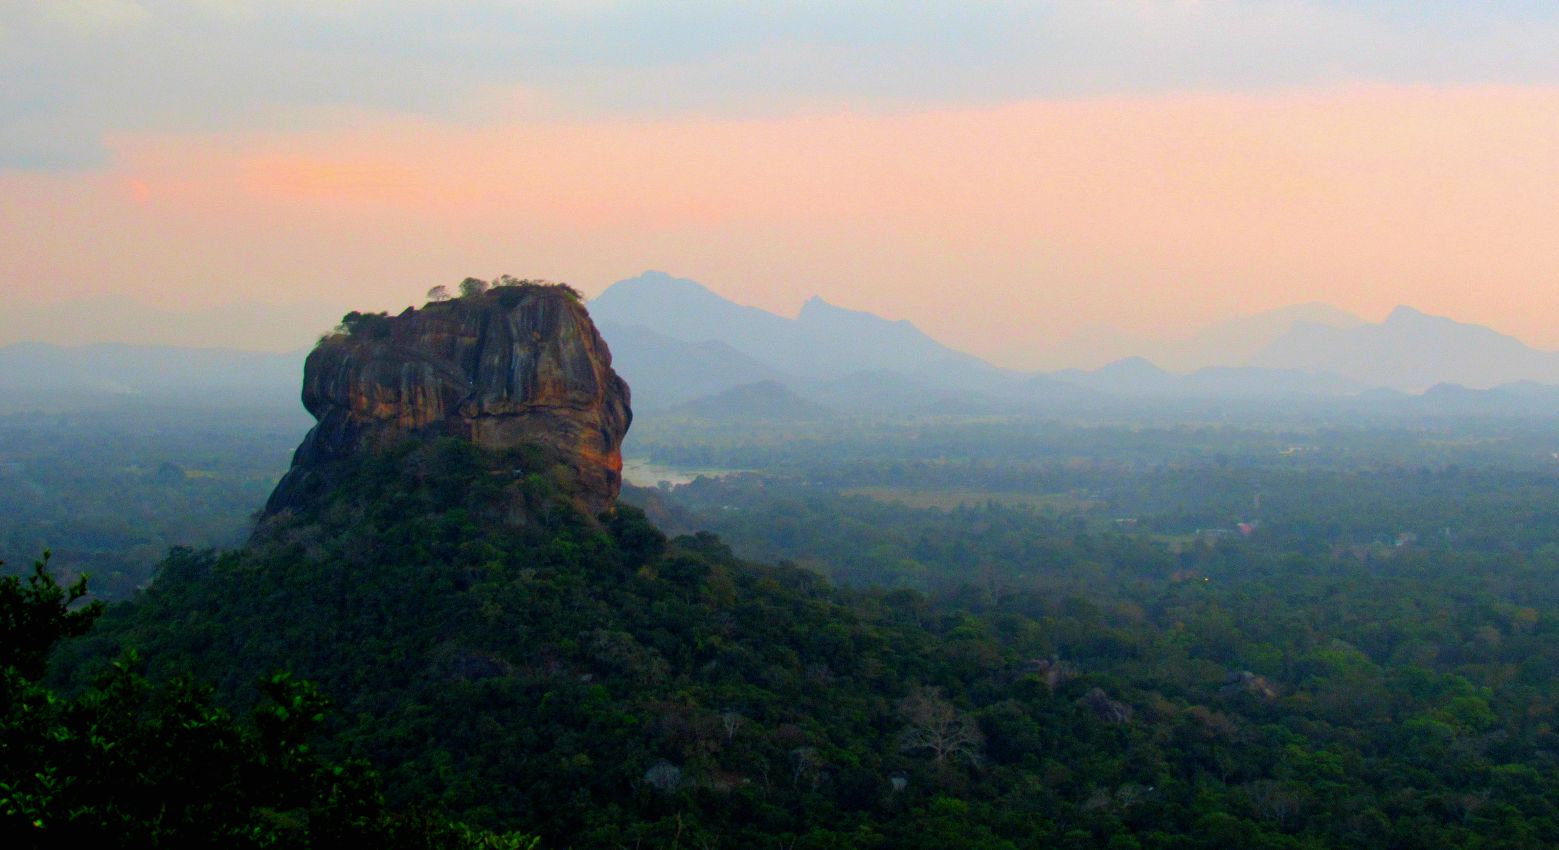
- Lion Rock: Early morning trip (UNESCO World Heritage Site).
- Note: $30 USD – the price is high compared to that of Pidurangala Rock, but I would say it is worth it, and worth doing both.
- Minneriya National Park safari: Afternoon trip.
Day 9:
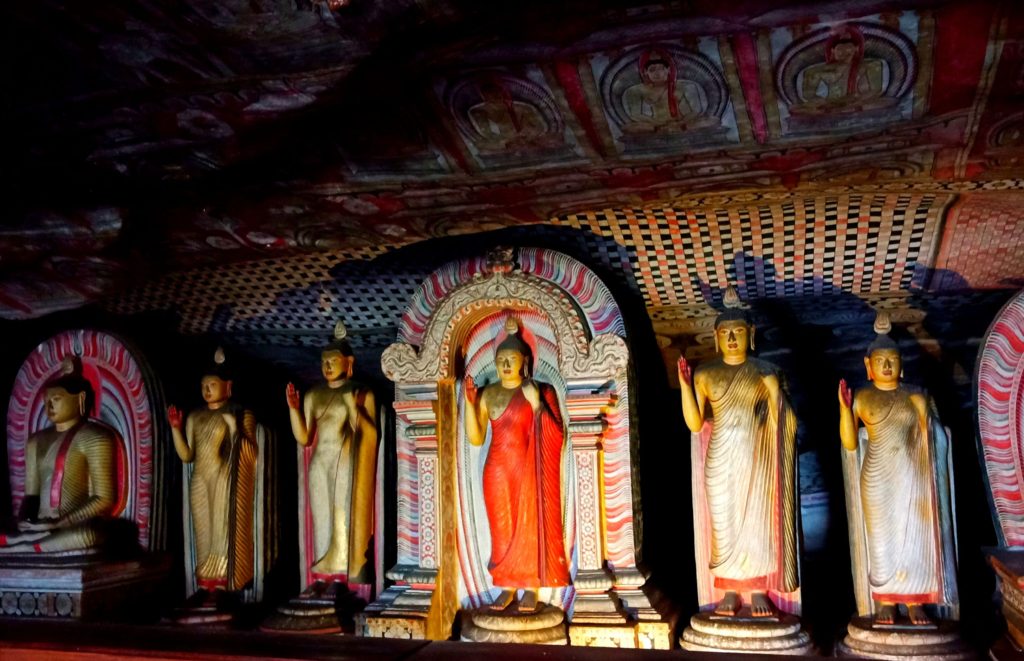
Sigiriya -> Dambulla
Short trip from Sigiriya to Dambulla by tuktuk.
- Golden Temple of Dambulla (UNESCO World Heritage Sight).
- Spend the evening at a nice resort if you’re lucky – we were staying in cheap accommodation but had dinner at a lovely resort. They let us use the pool and it was just a lovely relaxing evening that we were in need of.
Day 10:
Dambulla -> Kandy
Bus from Dambulla to Kandy. We ended up on a non public bus, costing a bit more but it was certainly worth it for the air con and slightly less cramped atmosphere.
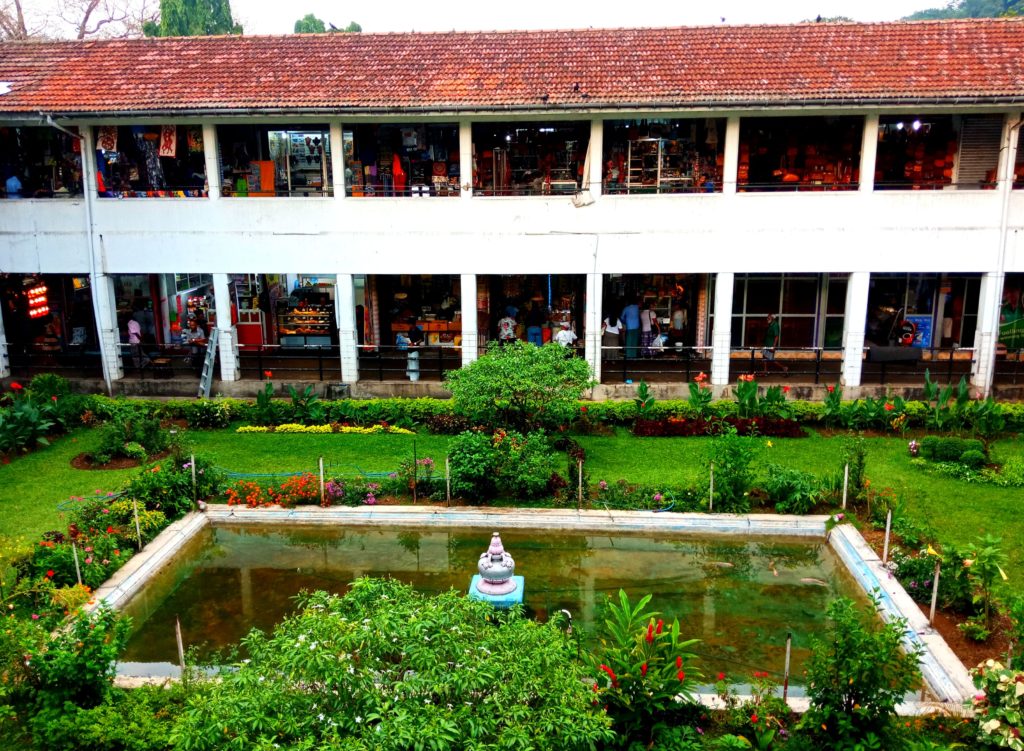
- Explore the city of Kandy (UNESCO World Heritage Sight).
- This wasn’t my favourite stop to be honest. Our accommodation was pretty awful (we budget backpacker’d a little too hard), and the weather wasn’t great either. We did find some good dosas to eat though!
- Hopefully you have a much better experience, and a great way to do that is to opt for a private guided tour of the city by tuk-tuk. This is a very highly rated, and very cheap, tour! I really wish we had included this in our trip!!
Day 11:
Kandy -> Nuwara Eliya
Take the famous Sri Lanka train ride from Kandy to Nuwara Eliya.
- Explore Nuwara Eliya on foot.
Day 12:
- Horton Plains World’s End hike: Set up a ride through your accommodation to take you from Nuwara Eliya to Horton Plains National Park. Here, you will do the World’s End hike. You have to leave super early (5am or earlier) to get there before the mist rolls in and obscures the view, but it is worth it.
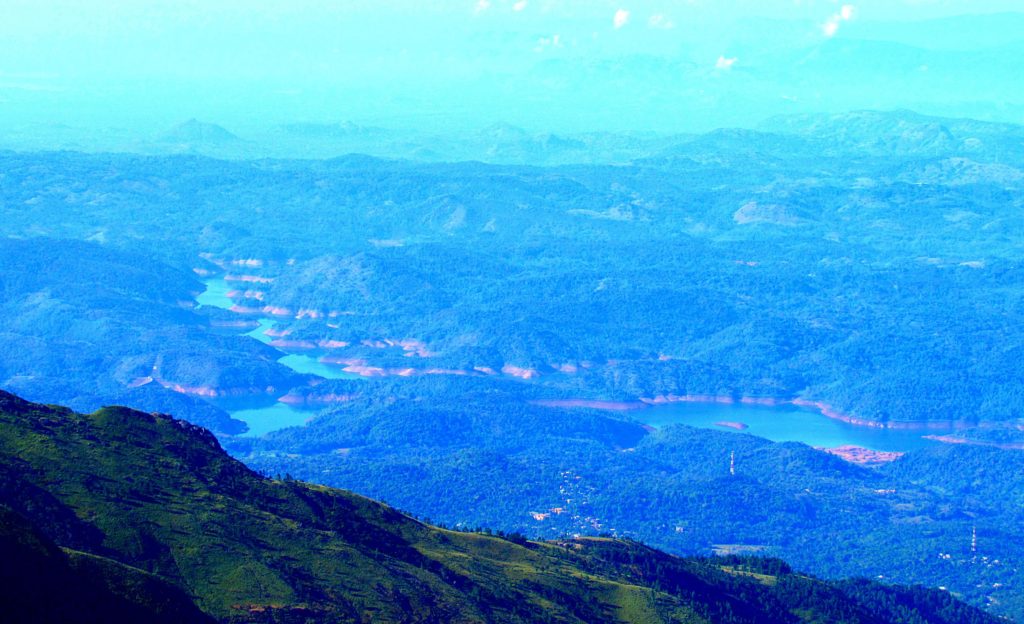
From here make your way to Pattipola train station – have your driver wait for you while you do the hike.
- Pattipola -> Ella
Arrive in Ella after taking one of the most beautiful train rides in the world.
Days 13 – 15
After settling into Ella the night before, it is time for 3 full days in this lively, more touristic than some, area of Sri Lanka.
Top things to do:
- Nine Arch Bridge
- Time it so you will be there for a train passing over the bridge.
- Little Adam’s Peak hike
- Sri Lankan cooking class
- Visit a Tea plantation (unfortunately these were all shut on my trip as it was over a holiday period)
- Enjoy the many bars and restaurants

Days 16 – 21:
Ella -> Arugam Bay
Take two buses to get to Arugam Bay.
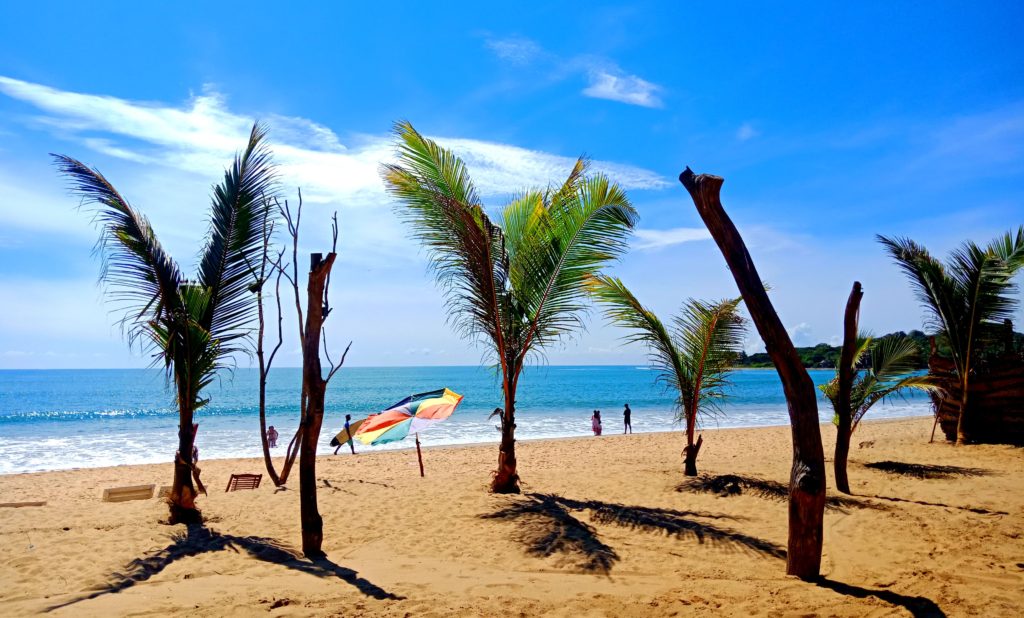
You don’t need to spend this long in Arugam Bay, but after a lot of travelling around, this can be a welcome respite. It is super chill here, and is a popular surf spot.
- Enjoy the beach with bars and restaurants right on it.
- Surf at Whisky Point
- Tuktuk ride from Arugam Bay. Lessons are available.
- Elephant Rock Point for sunset: Take a tuktuk to Elephant Rock Point, do the short climb to the viewpoint and watch the sunset. Ask the tuktuk driver to wait for you – it is a bit isolated and you don’t want to be getting stranded when it is starting to get dark!
After a couple of days or so you could head to Yala National Park. However we skipped this after spending more time than planned in Arugam Bay, satisfied enough with having already been on safari in Minneriya National Park. The longer relaxed period was nice after a fair bit of travelling around.
Days 22 – 24:
Arugam Bay -> Mirissa
Bus to Matara, then Matara to Mirissa.
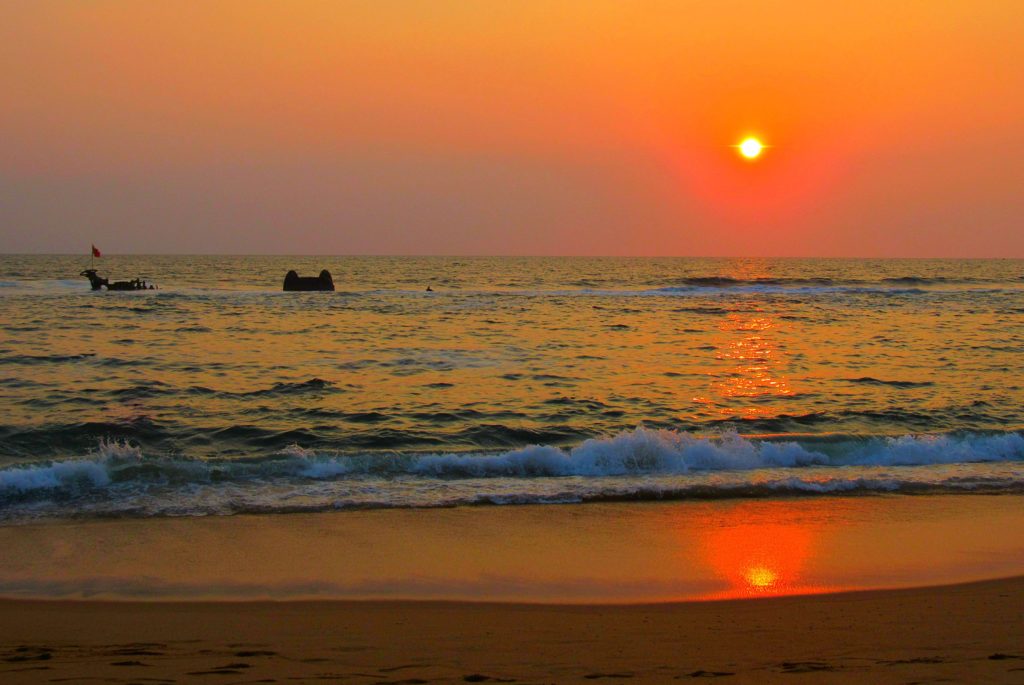
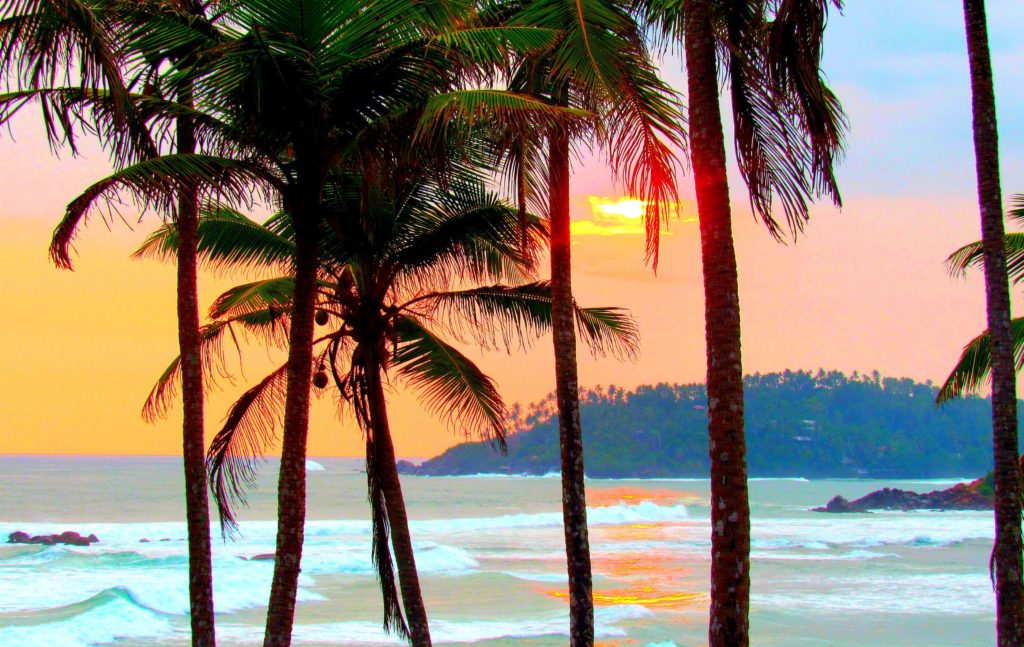
- Mirissa Beach
- Be sure to check out the market stall while on the beach – beautiful, very cheap clothing and accessories.
- Turtle Point
- Parrot Rock Bridge
- Coconut Tree Hill
- Great sunset spot
- Explore the street art
- Chill out, dinner and drinks at the beach restaurants
Days 25 – 26:
Mirissa -> Galle:
Take the bus from Mirissa to Galle.
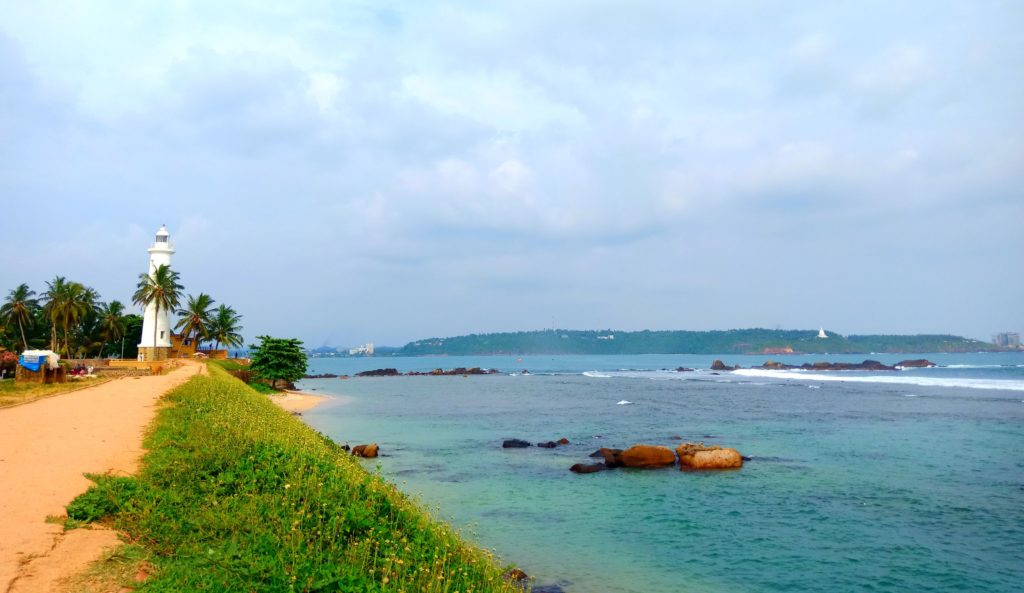
Galle is a UNESCO World Heritage Site.
- Galle Fort
- Lighthouse
- Follow the Fort Walk
- Sunset from Fort wall
- Walk the European-like streets of the Old Town and enjoy the ample choice of eateries.
Day 27:
Galle -> Negombo
Take a taxi to Negombo.
Spend the day in Negombo, or go straight to the airport depending on what time your flight to leave the country is.
My travel mate was spending the night here so we just chilled out at her accommodation during the day, before a lovely extremely inexpensive curry and myself catching a 3am flight out of Sri Lanka.
………………………….
Hopefully this one month in Sri Lanka itinerary can help inspire you for your trip. Having followed this itinerary, tweaking it where necessary if you so desire, will leave you feeling satisfied at your one month glimpse of this incredible country!